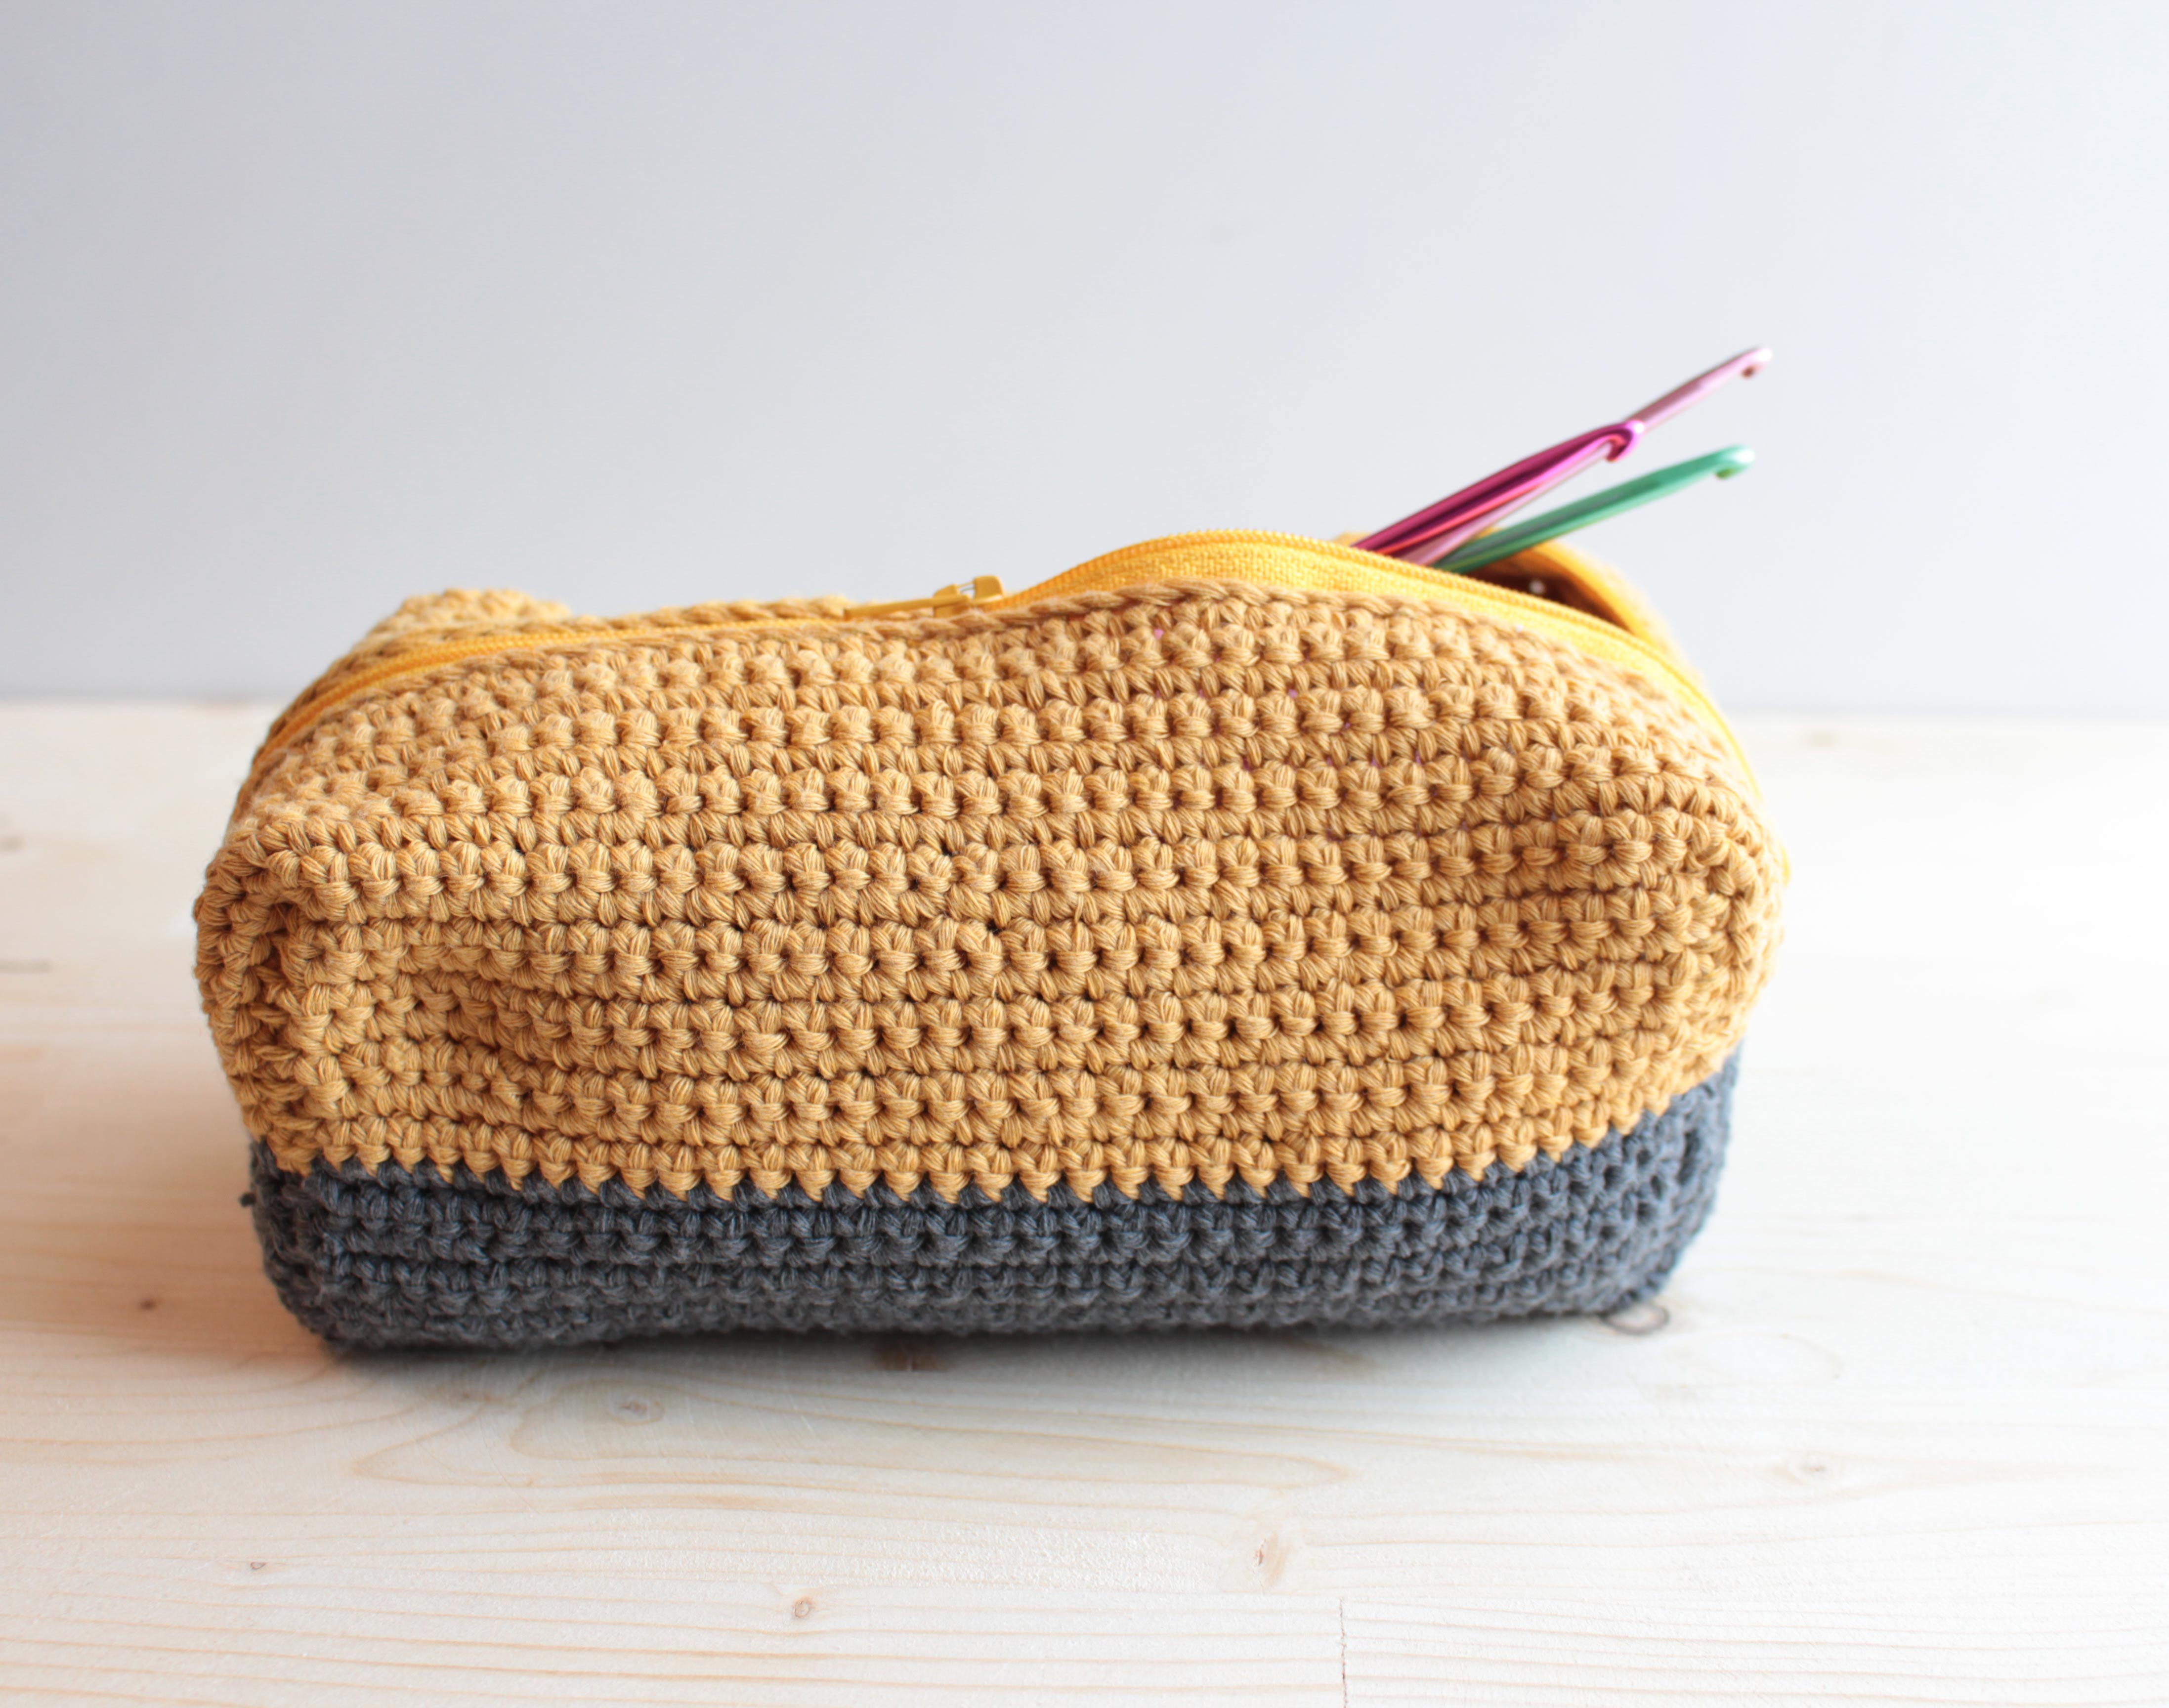
Whether you like it or not, schools are open again. Now, if you are lucky and live somewhere that gives you the choice between sending your kids back to class or homeschooling them yourself or, even better, use this wonderful thing that they call e-learning, lucky you! If you don’t have a choice and must send your kids to class no mater what, well… join the club!
I have a lot to say about the school topic but I don’t feel that this is the right place. So I, kinda, put my feelings aside by making a new pencil case. If you want to get creatively distracted too, keep reading and you will find the instructions to make one yourself.
Add It To Your Ravelry Queue Or Favourites
Materials
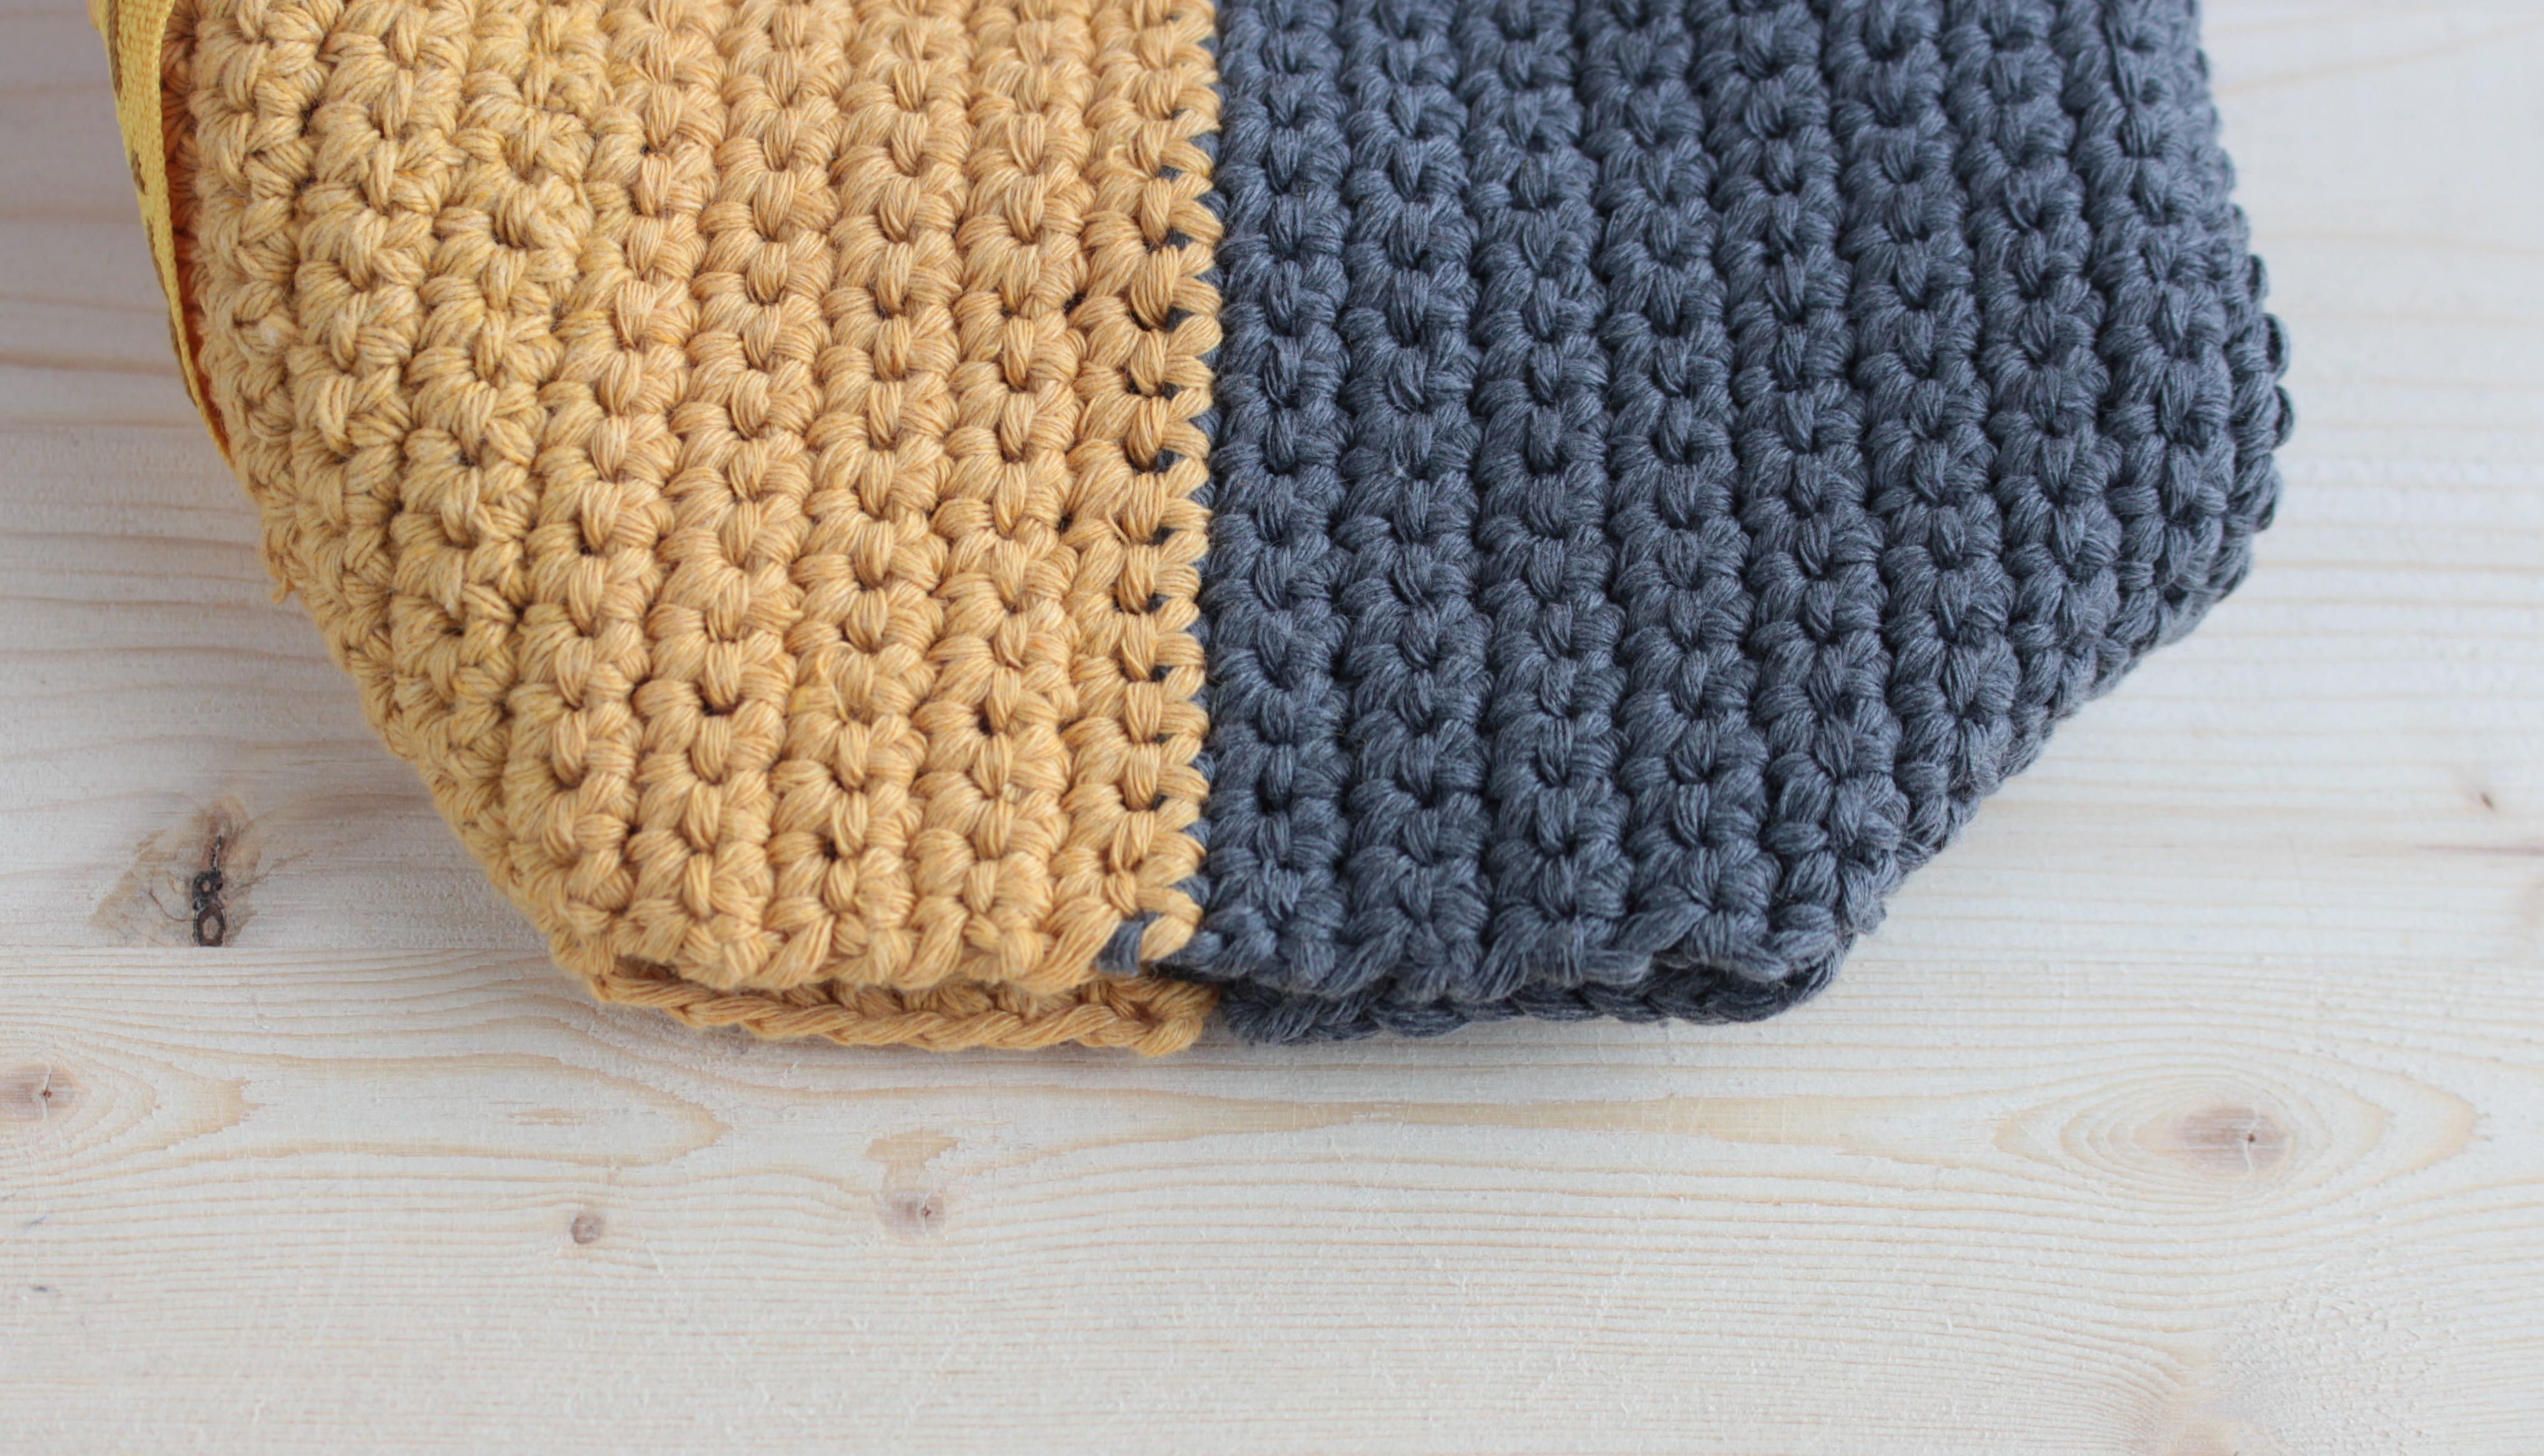
Yarn: Cotton, DK yarn in two colors, A for the top and B for the bottom of the case.
Crochet Hook: 3.0 mm.
Other notions: Tapestry and sewing needle, zipper (27 cm), scissors.
Gauge
18.5 sts and 22 rows in single crochet = 10 cm.
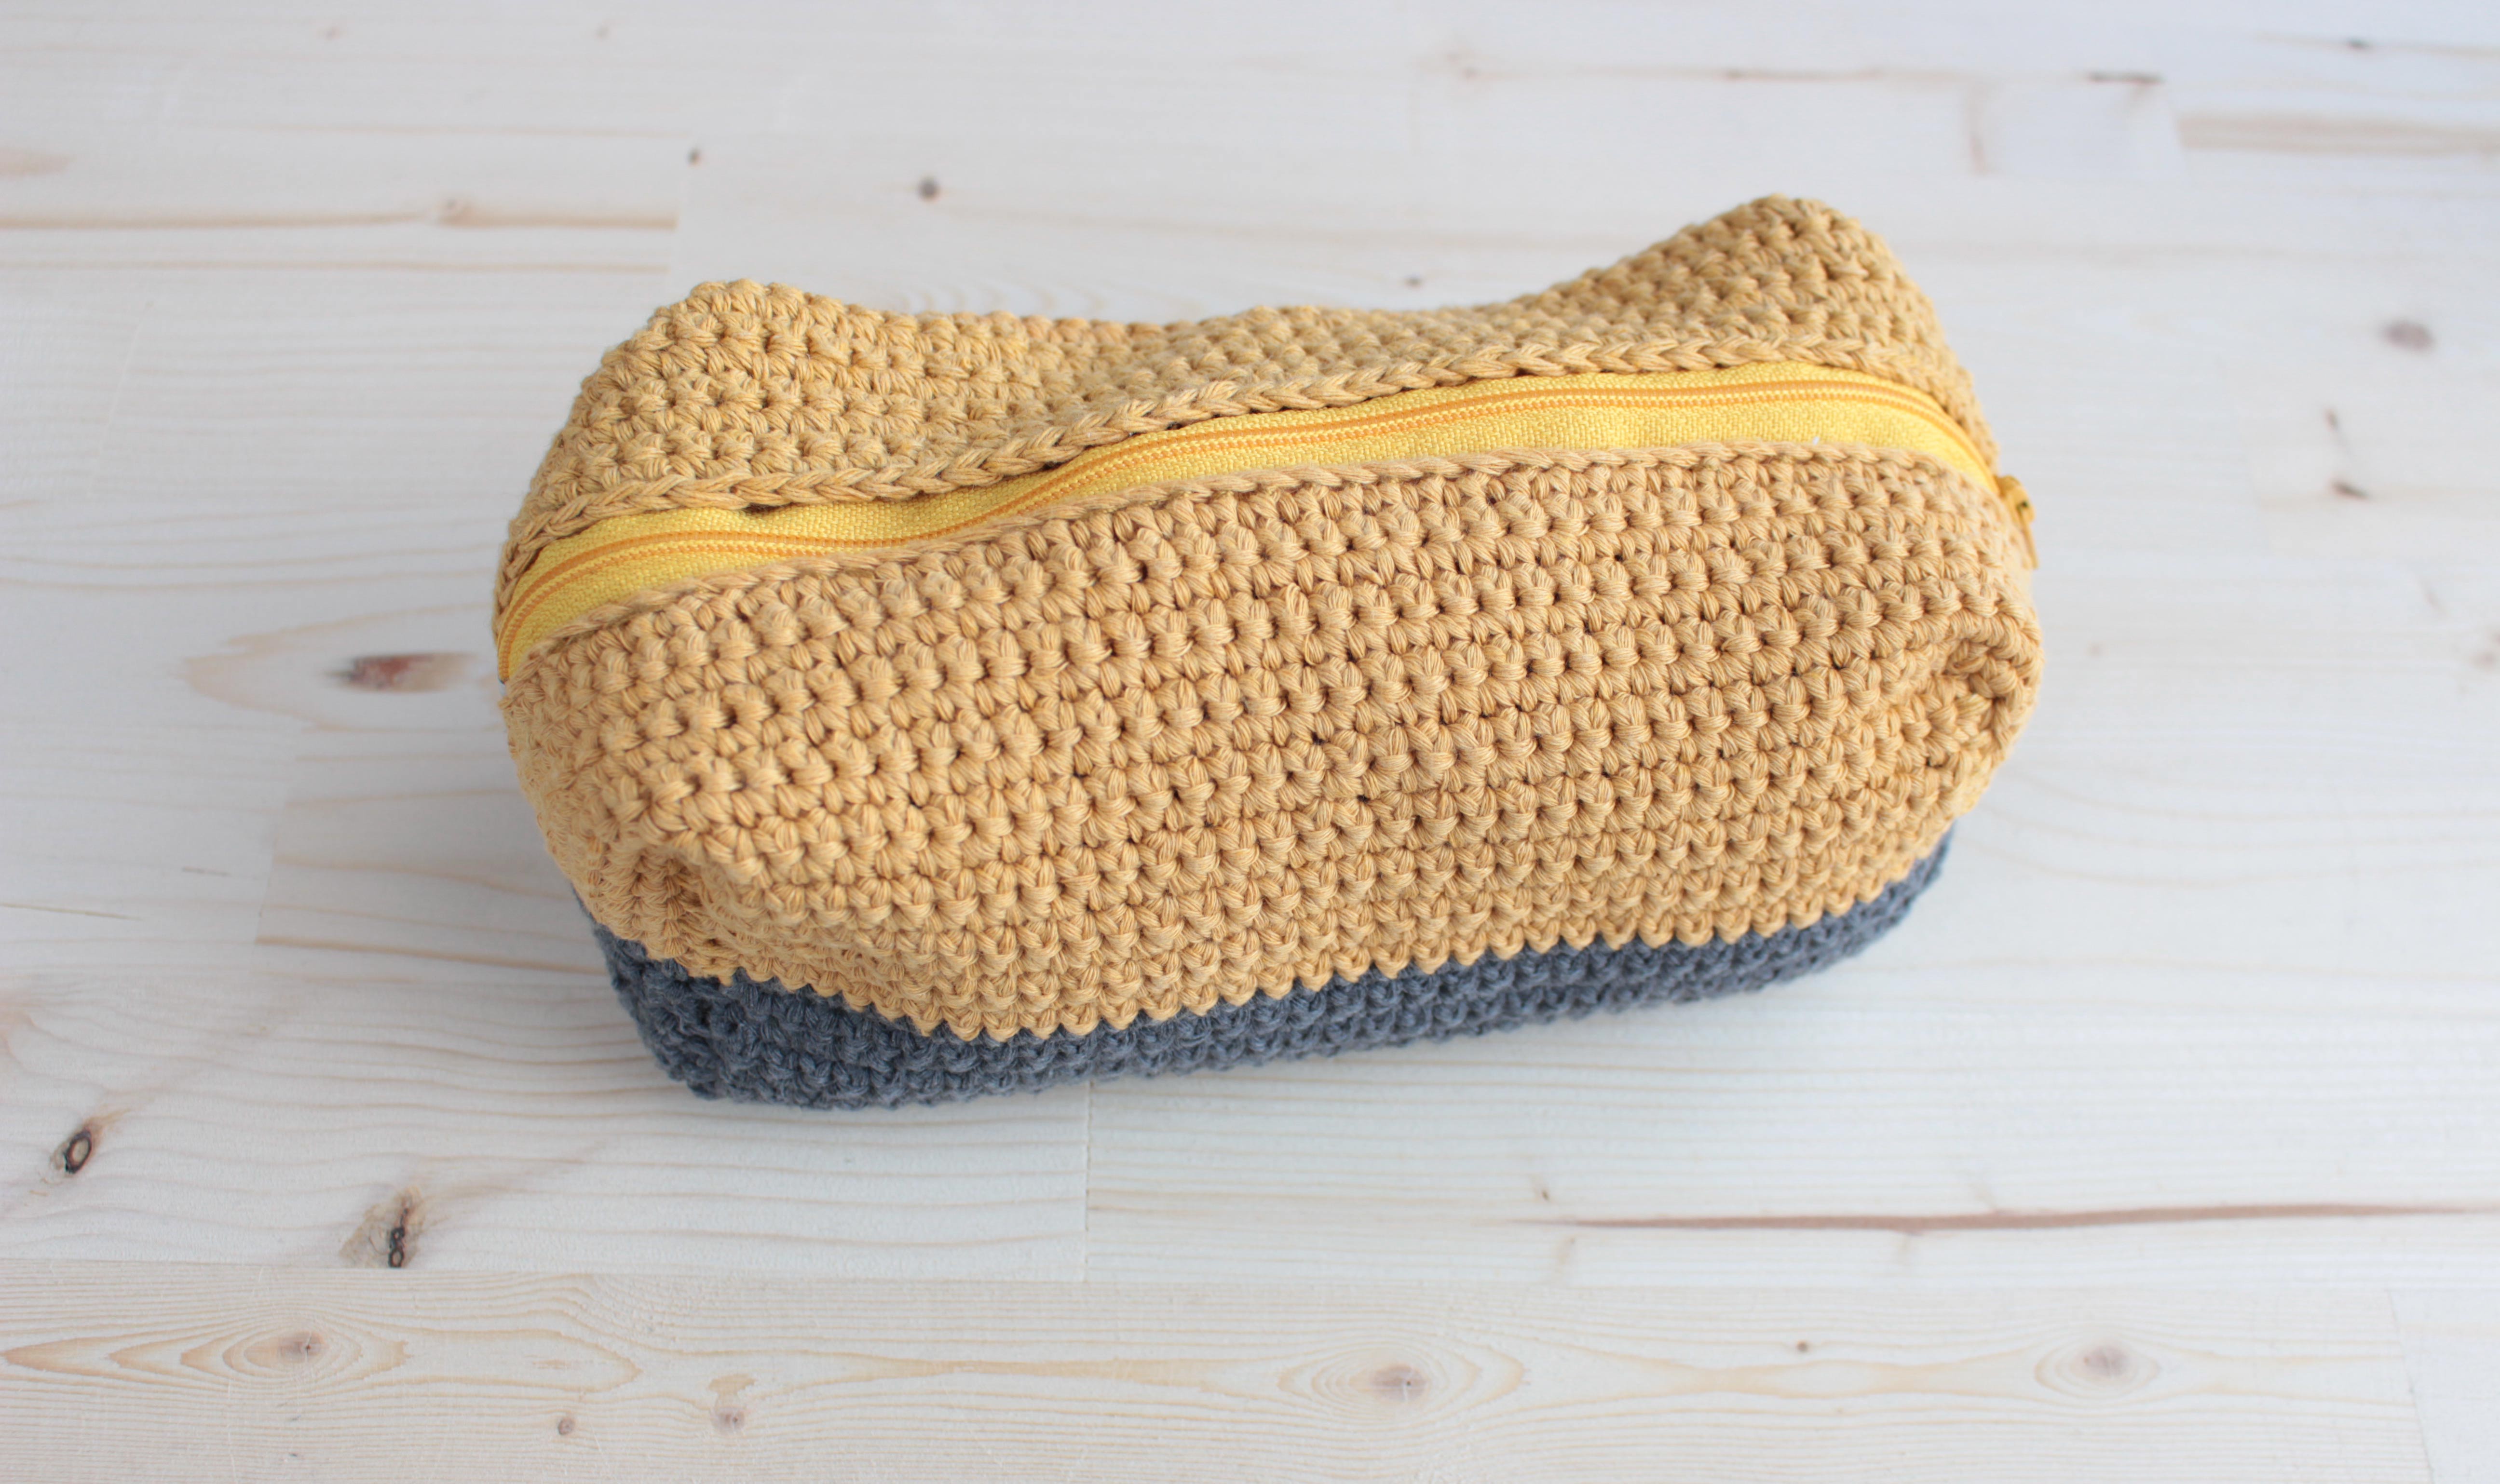
Finished Measurements
Aprox. 19 * 9 * 8 cm.
Abbreviations
The pattern is written in US terminology.
Ch: chain
sc: single crochet
sl st: slip stitch
st(s): stitch(es)
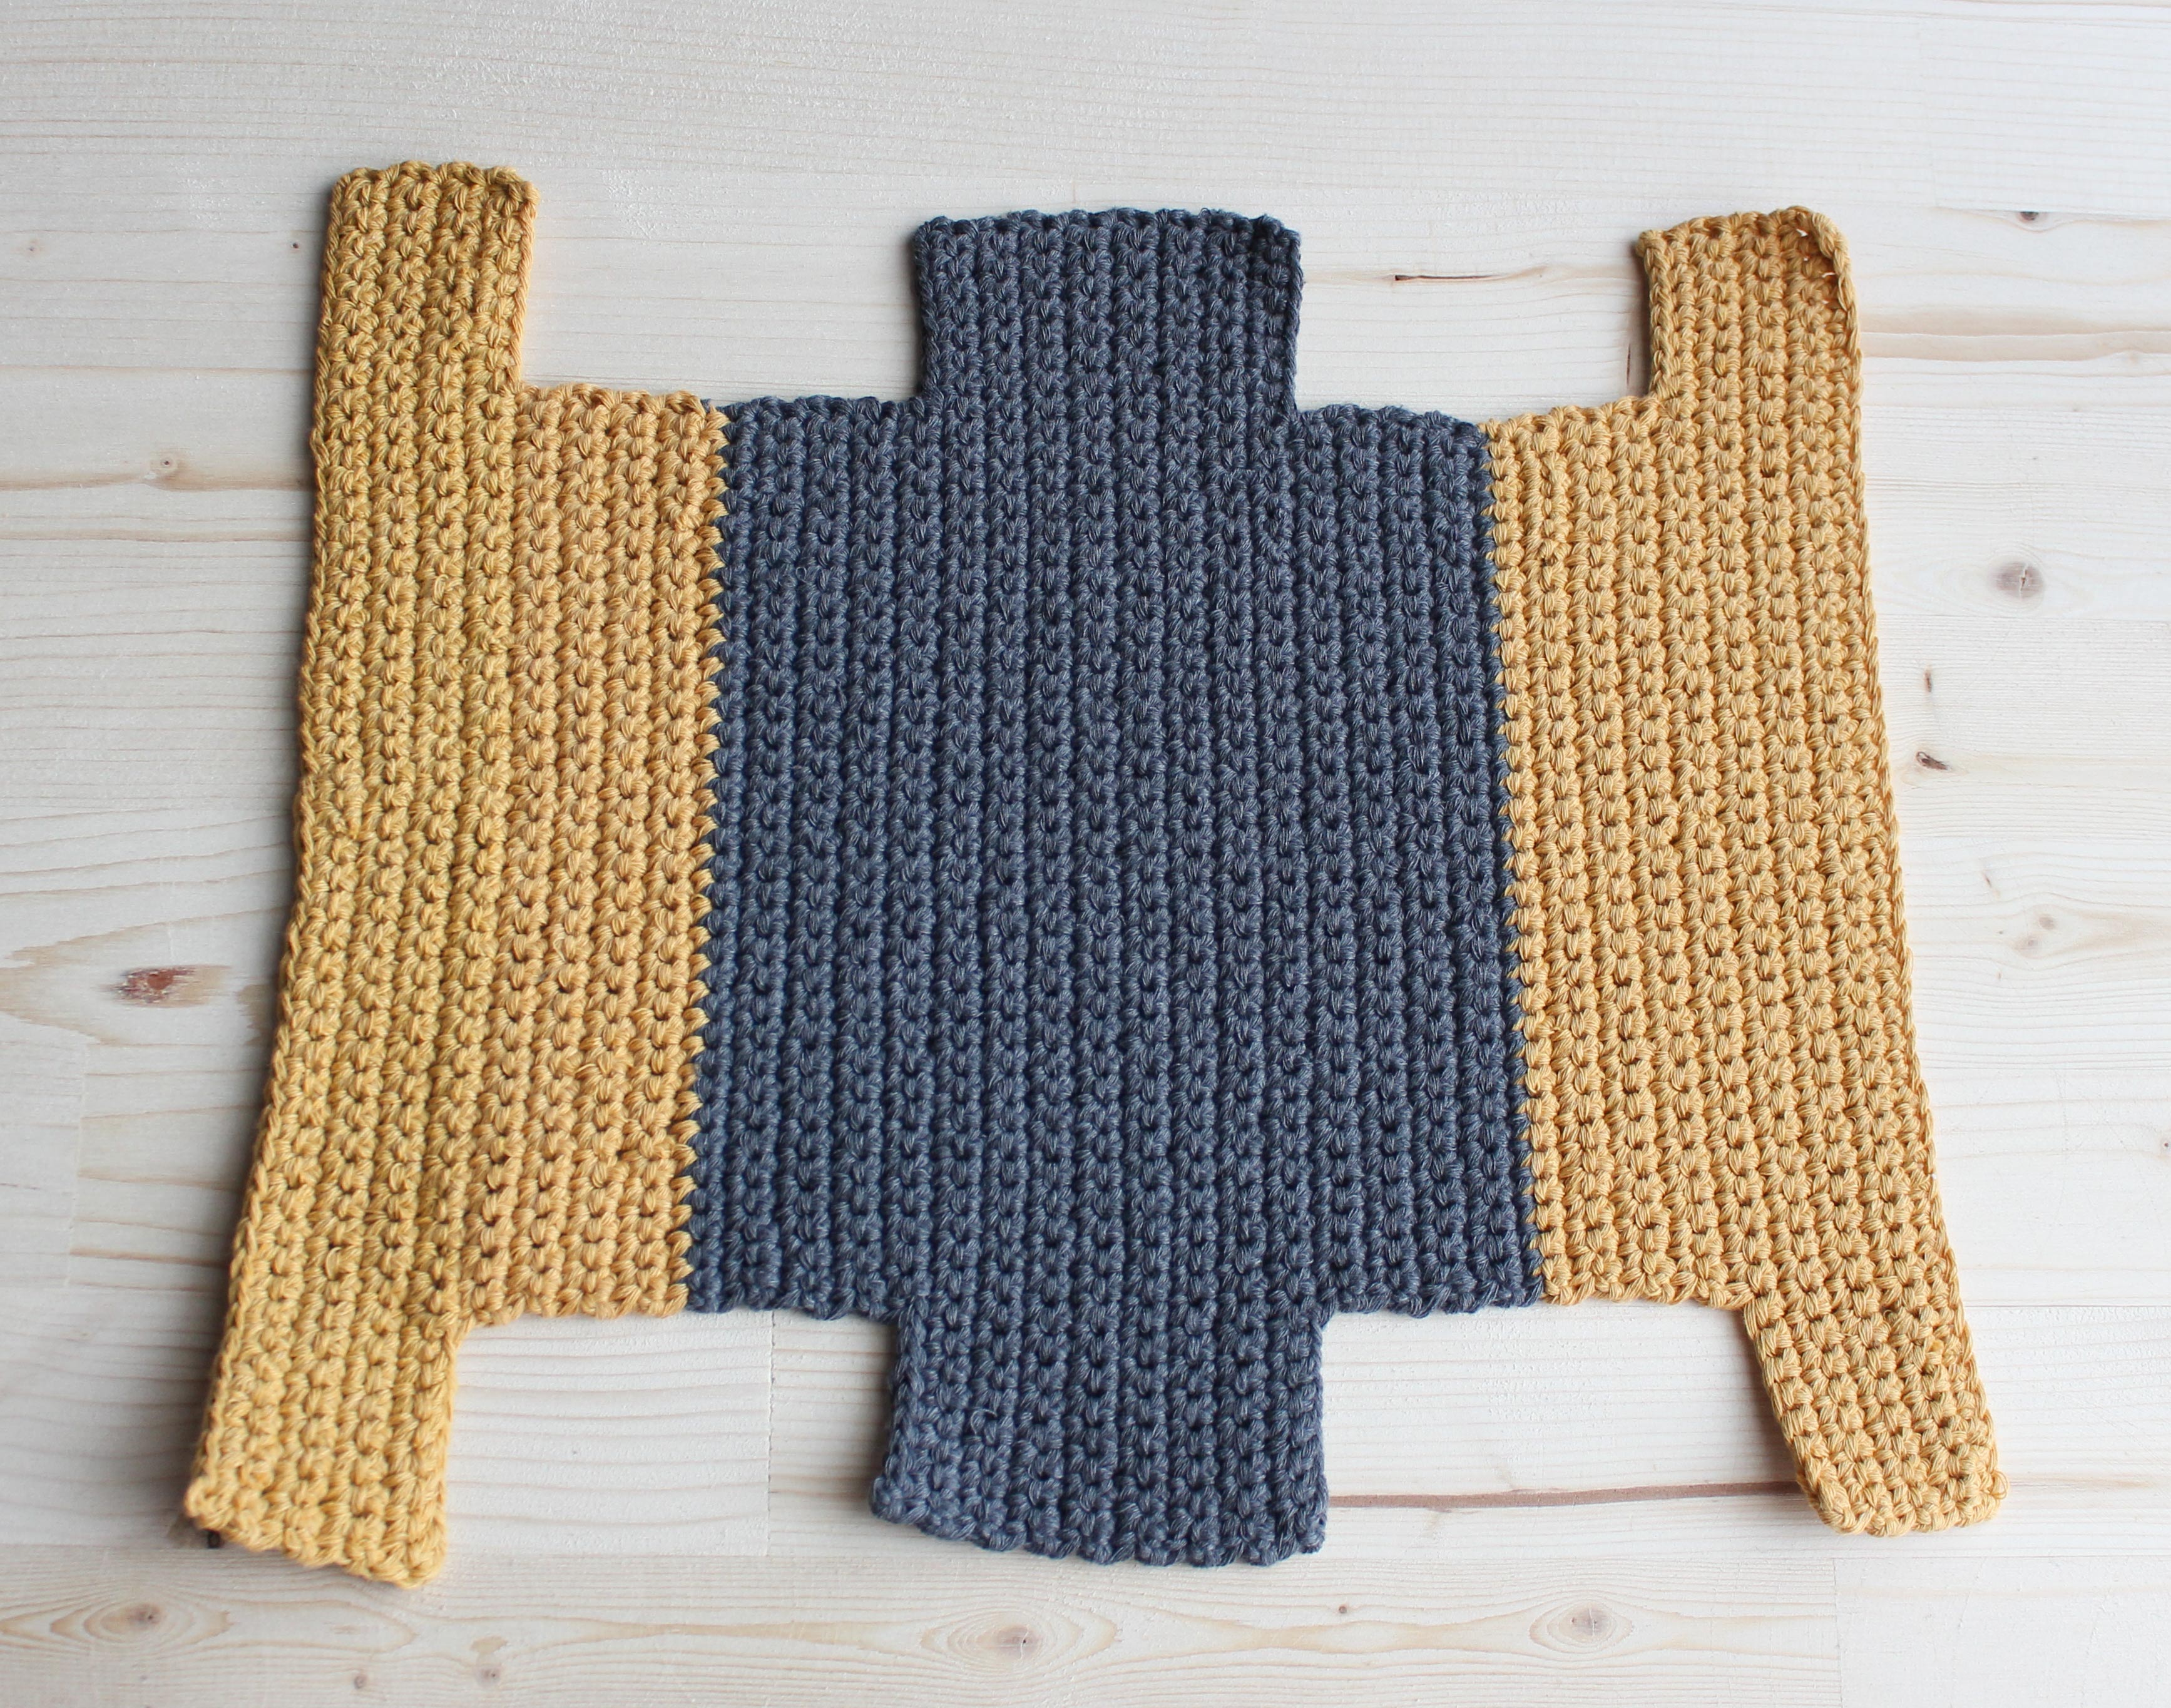
Instructions
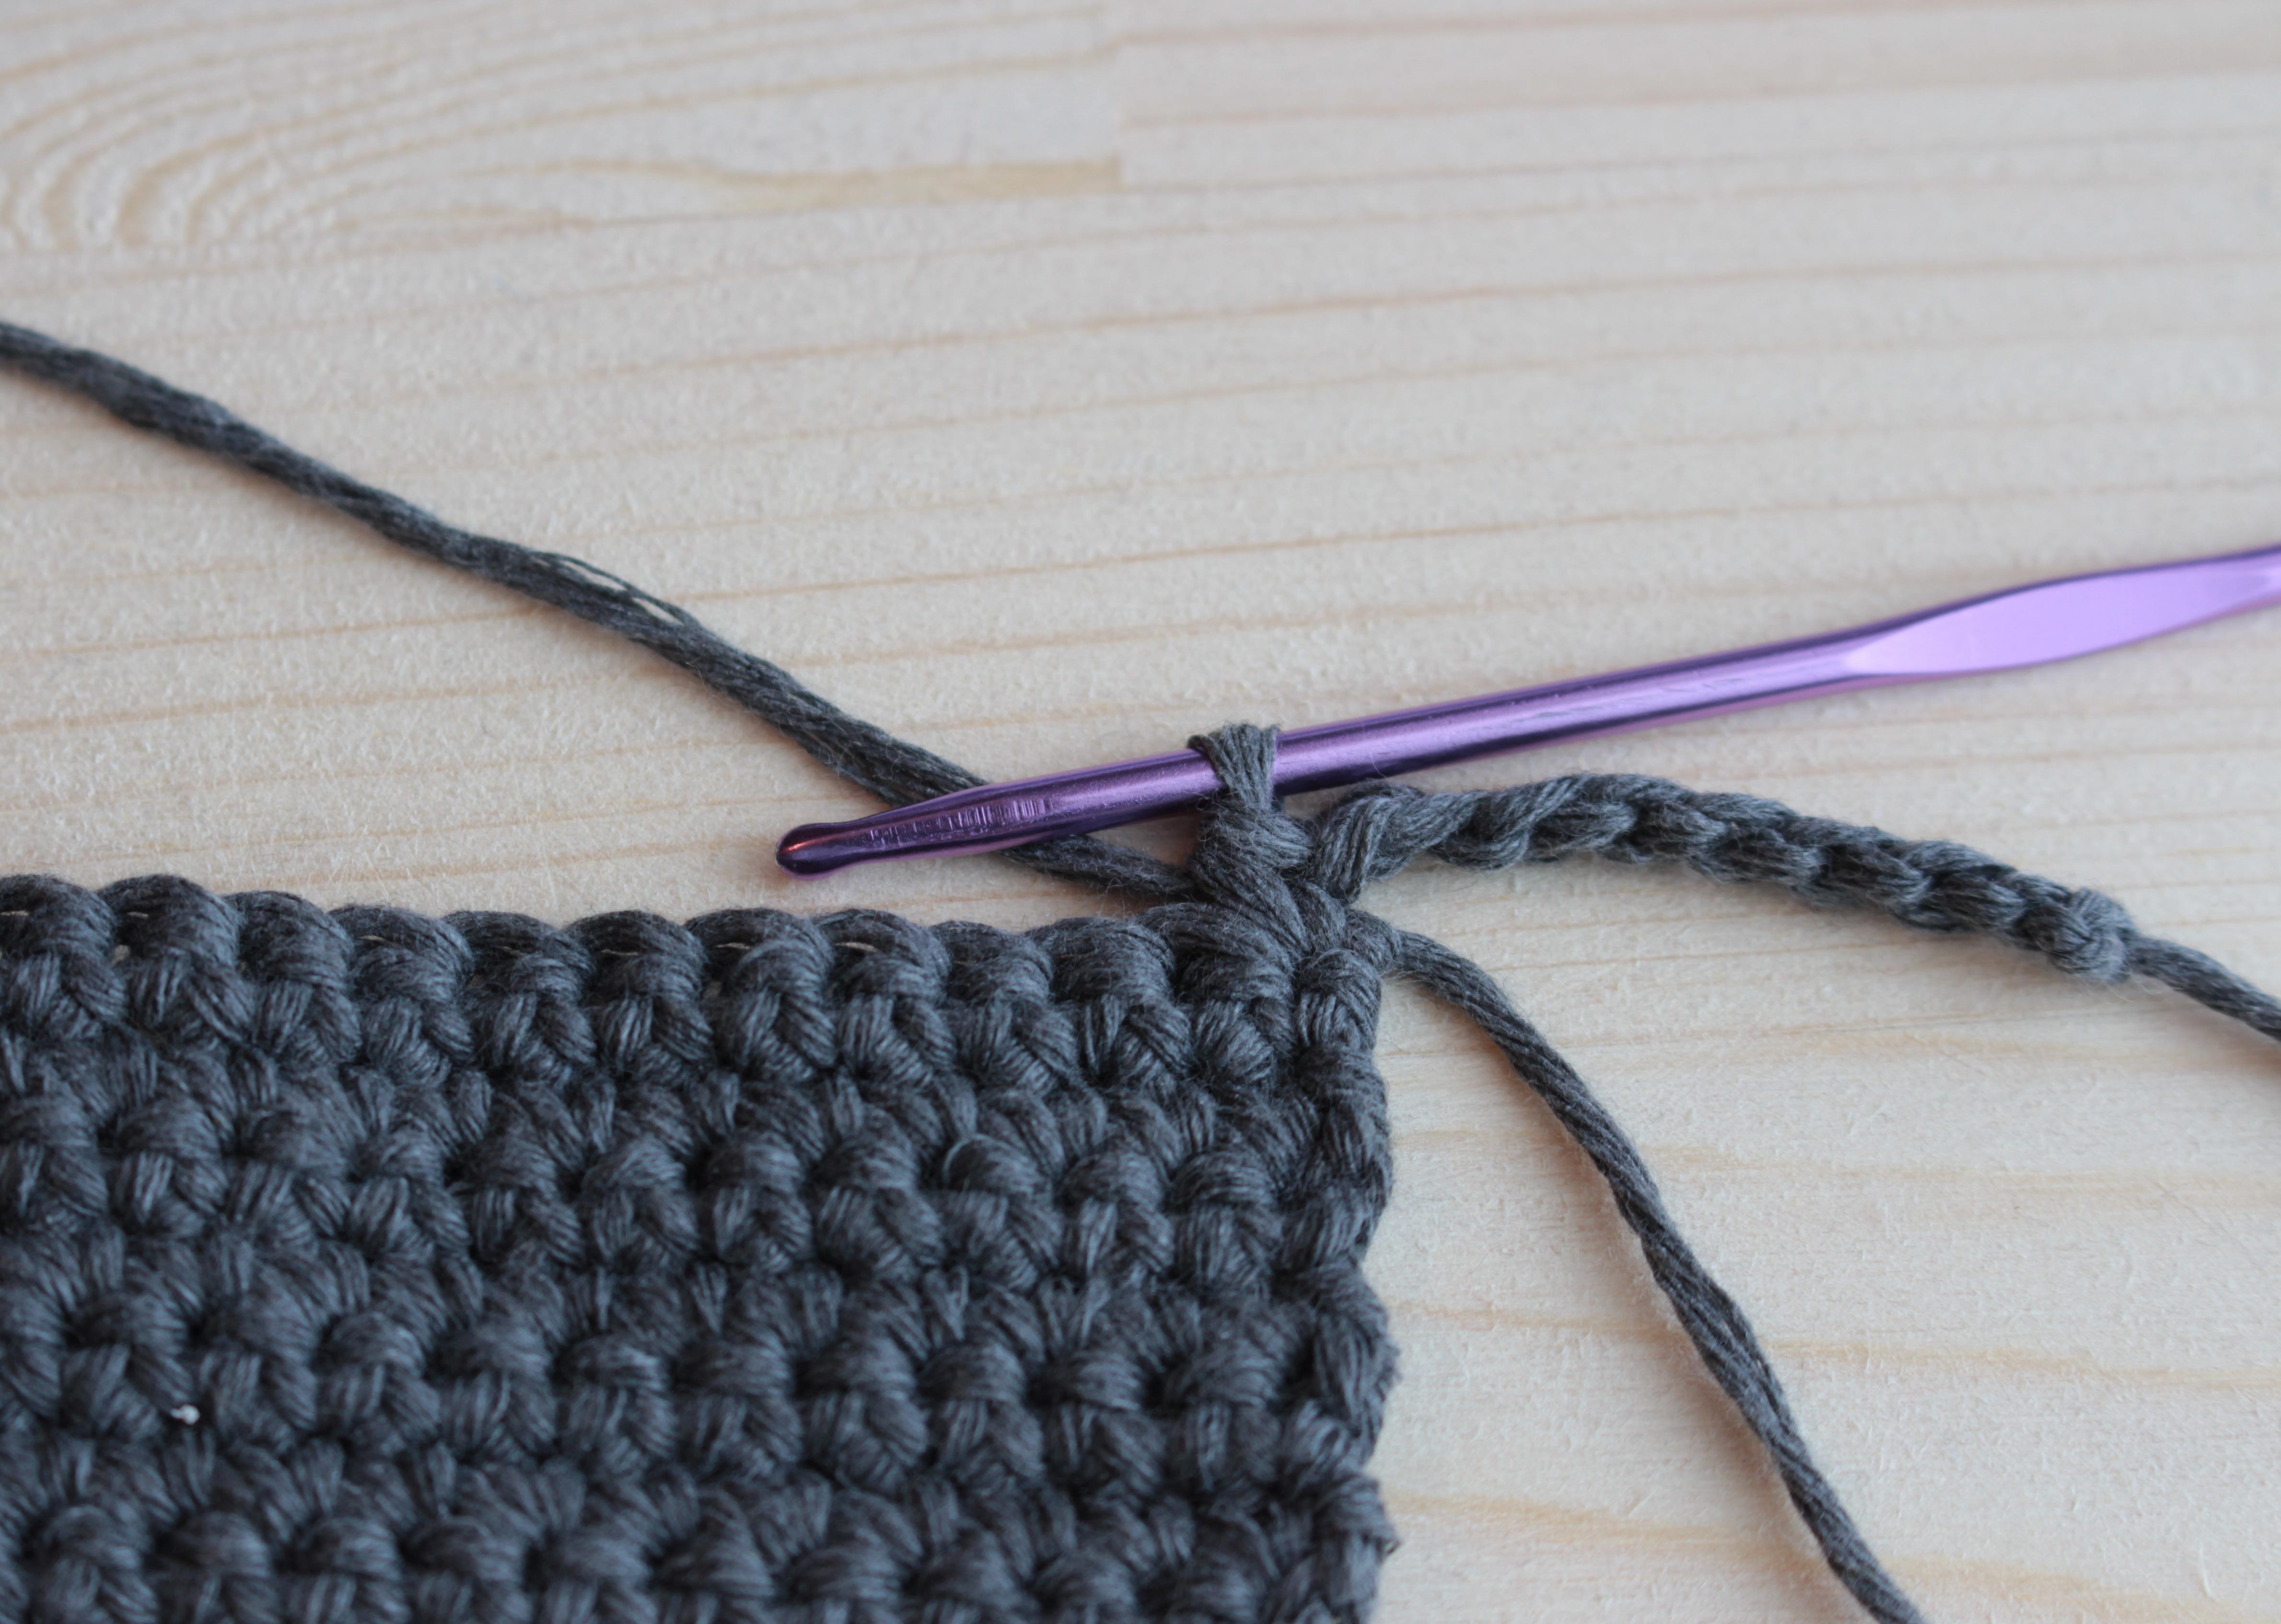
With color A, Ch 51.
Row 1: (Right Side). Turn, 50 sc. (50 sts).
Rows 2-8: Ch 1, turn. 50 sc. (50 sts).
Row 9: Turn, 8 sl st, 34 sc. (42 sts).
Rows 10-16: Ch 1, turn. 34 sc. (34 sts). Change to color B.
Rows 17-23: Ch 1, turn. 34 sc. (34 sts).
Fasten of. Turn.
Row 24: Continue with color B. Ch 8. With wrong side facing you, 1 sc in the first st, 33 sc until the end of the row. Ch 9. (51 sts).
Row 25: Turn. 50 sc. (50 sts).
Rows 26-40: Ch 1, turn. 50 sc. (50 sts).
Row 41: Turn, 8 sl st, 34 sc. (42 sts).
Rows 42-48: Ch 1, turn. 34 sc. (34 sts). Change to color A.
Rows 49-55: Ch 1, turn. 34 sc. (34 sts). Fasten of. Turn.
Row 56: Continue with color A. Ch 8. With wrong side facing you, 1 sc in the first st, 33 sc until the end of the row. Ch 9. (51 sts).
Row 57: Turn. 50 sc. (50 sts).
Rows 58-64: Ch 1, turn. 50 sc. (50 sts).
Fasten of, weave in all ends.
Assembly
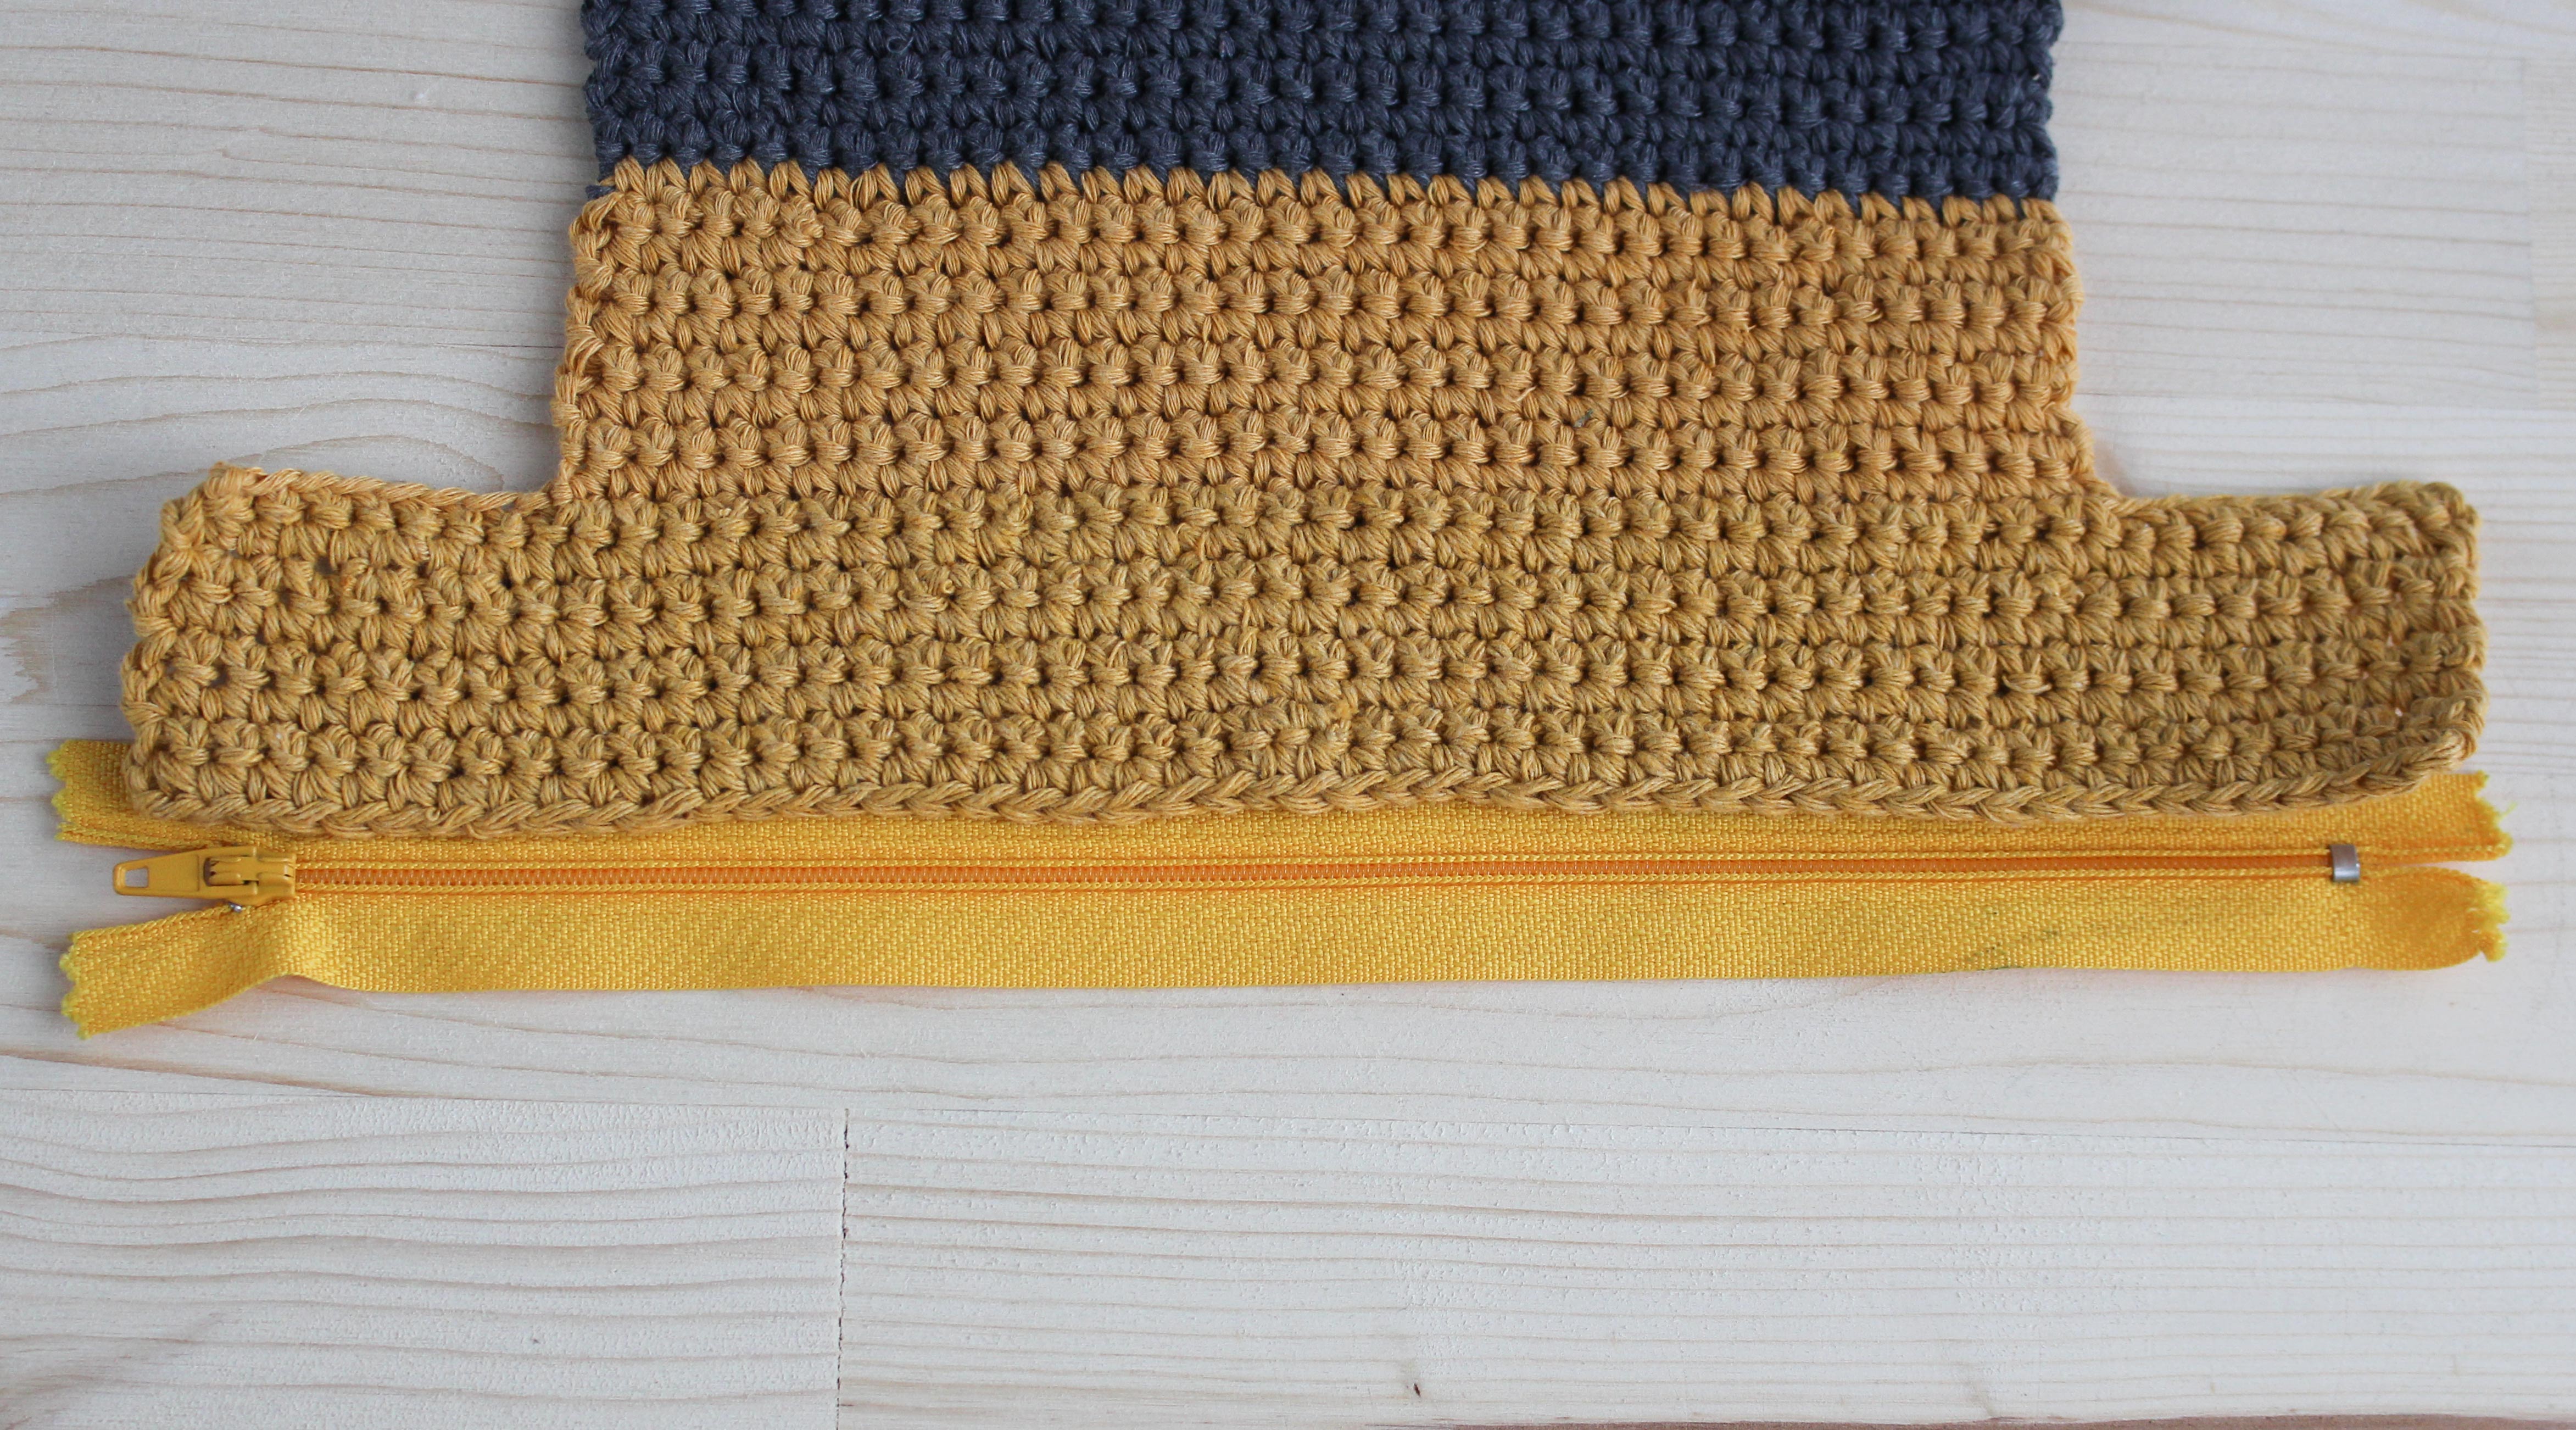
Align and pin the zipper on wrong side of the edge of the fabric. With sewing needle and thread, sew the zipper in place.

Fold the fabric in half and align the other side of the zipper with the opposite edge of the fabric. Sew it in place.
Turn the bag wrong side out and lay it flat so that the zipper is horizontally in the middle. Make sure that your zipper is half open. Sew or crochet the vertically edges together.
Fold the bag again as shown in the photo. Aline the remaining edges. Sew or crochet them together.
Weave in all the ends. Turn the bag right side out.
Have you made this pattern? Share a photo on Instagram and don’t forget to tag me @kouvarakia so I can see your work.
Zarnaz Fahad
Can you please explain a bit more how you sewed the sides together? I’m having trouble sewing it. Thanks for the excellent pattern!
Stella
Hello!
First attach the zipper, then place the top side over the bottom side (the zip should run horizontally the middle of the long side). Sew the sorts sides (the sides that are perpendicular to the zipper) together. You will have a hole in each corner. Pinch the corners so that the seam lies perpendicular to the top and bottom sides of the bag and sew them.
Savannah Salvatore
Im a bit confused when it comes to the measurements, does the zipper have to be longer than the sides that protrude? Thank you for such a pretty pattern! Im making it for myself
Stella
It should be approximately the same size or a little bit longer
Jenny
What does it mean in the 24th row to crochet on the wrong side? What’s the wrong side? Can I explain a bit better? Thanks a lot
Stella
In Row 1 and all the odd rows you are facing the right side. In Row 2 and all the even rows you are facing the wrong side.